Running Gemma 4 Locally on an Intel Iris Xe Gpu
A few months ago, Google announced Gemma 4, its latest family of open models designed to run on a wide range of hardware while supporting a variety of generation tasks. The models that immediately caught my attention were the 2B and 4B variants. I wanted to see how well they would perform on hardware I already had running in my home lab.
I’ve been running a home lab for several years. It hosts services such as Plex, Pi-hole, and various personal projects, but I had never used it for AI workloads. My goal was to understand how difficult it would be to run a genuinely useful language model locally. Longer term, I’d like to integrate a local LLM into some of my personal applications, such as a budgeting app I maintain, rather than routing requests to providers like OpenAI, Anthropic, or Google.
The Hardware
My home lab consists of a three-node Proxmox cluster built from hardware I’ve picked up over the years. For this project, I targeted the Intel Iris Xe GPU in my Intel NUC 13.
Setting Up the VM
I started by creating a Ubuntu 26.04 VM in Proxmox. The critical component here is GPU passthrough, which gives the virtual machine direct access to the host’s GPU. This is done by adding a PCI device to the VM via PCI passthrough. How this is done will vary by hardware, you can read more about that here.
Once the VM booted, I confirmed that the GPU was visible:
$ ls -la /dev/dri
total 0
drwxr-xr-x  3 root root        120 May 29 18:11 .
drwxr-xr-x 21 root root       4480 May 29 18:11 ..
drwxr-xr-x  2 root root        120 May 29 18:11 by-path
crw-rw----  1 root video  226,   0 May 29 18:11 card0
crw-rw----  1 root video  226,   1 May 29 18:11 card1
crw-rw----  1 root render 226, 128 May 29 18:11 renderD128
card0 represents the GPU’s display interface, while renderD128 is the render node used for compute workloads such as model inference. Seeing both devices confirmed that the GPU was accessible inside the VM and ready to be used.
Building the llama.cpp Container
To run the model, I chose llama.cpp. At the time of writing, it provided one of the simplest paths to Intel GPU acceleration, with a Docker image that was easy to build and run.
# Pull down llama.cpp
$ git clone https://github.com/ggml-org/llama.cpp.git && cd llama.cpp

# Build the Intel GPU-enabled container image
# GGML_SYCL_F16 uses 16-bit floats for calculations —
# faster and less VRAM, with negligible quality difference in practice.
$ docker build \
  --tag llama-cpp-sycl \
  --build-arg="GGML_SYCL_F16=ON" \
  --target server \
  --file .devops/intel.Dockerfile .

# View the built image
$ docker images
IMAGE                   ID             DISK USAGE   CONTENT SIZE   EXTRA
llama-cpp-sycl:latest   8b87286a7d15       12.7GB          3.3GB
Choosing a Model
Google publishes Gemma models to Hugging Face in safetensors format (BF16). To run them with llama.cpp, you need a GGUF conversion — and for most consumer hardware, a quantized GGUF, where weights are compressed to lower precision, trading a small amount of accuracy for reduced memory usage and faster inference.
My GPU has 14 GB of shared VRAM. Rather than quantizing a model myself, I grabbed a pre-quantized build from ggml-org: the Gemma 4 E4B model at Q8_0, which compresses weights to 8 bits. At 8 GB, Q8_0 is the highest-quality quant that fits within my 14 GB of VRAM - BF16 would require 15 GB — while retaining near full-precision quality and leaving headroom for the KV cache as context grows.
Running the Container
The following command starts the llama.cpp server, exposes the OpenAI-compatible API, and passes the GPU devices directly into the container:
$ docker run -it --rm \
  --detach \
  --volume "/opt/models:/root/.cache/huggingface" \
  --publish 8080:8080 \
  --device /dev/dri/renderD128:/dev/dri/renderD128 \
  --device /dev/dri/card0:/dev/dri/card0 \
  llama-cpp-sycl \
  -hf ggml-org/gemma-4-e4b-it-GGUF:Q8_0 \
  -ngl 99
The --device flags expose the GPU to the container, allowing llama.cpp to use Intel’s SYCL backend for inference.
The -ngl 99 flag tells llama.cpp to attempt to offload all model layers to the GPU. If sufficient memory is available, inference will run primarily on the GPU and avoid the much slower CPU execution path.
The first startup takes several minutes while the model is downloaded and cached locally. I monitored progress using docker logs and waited for the following message:
5.12.548.013 I srv  llama_server: model loaded
5.12.548.260 I srv  llama_server: server is listening on http://0.0.0.0:8080
5.12.548.271 I srv  update_slots: all slots are idle
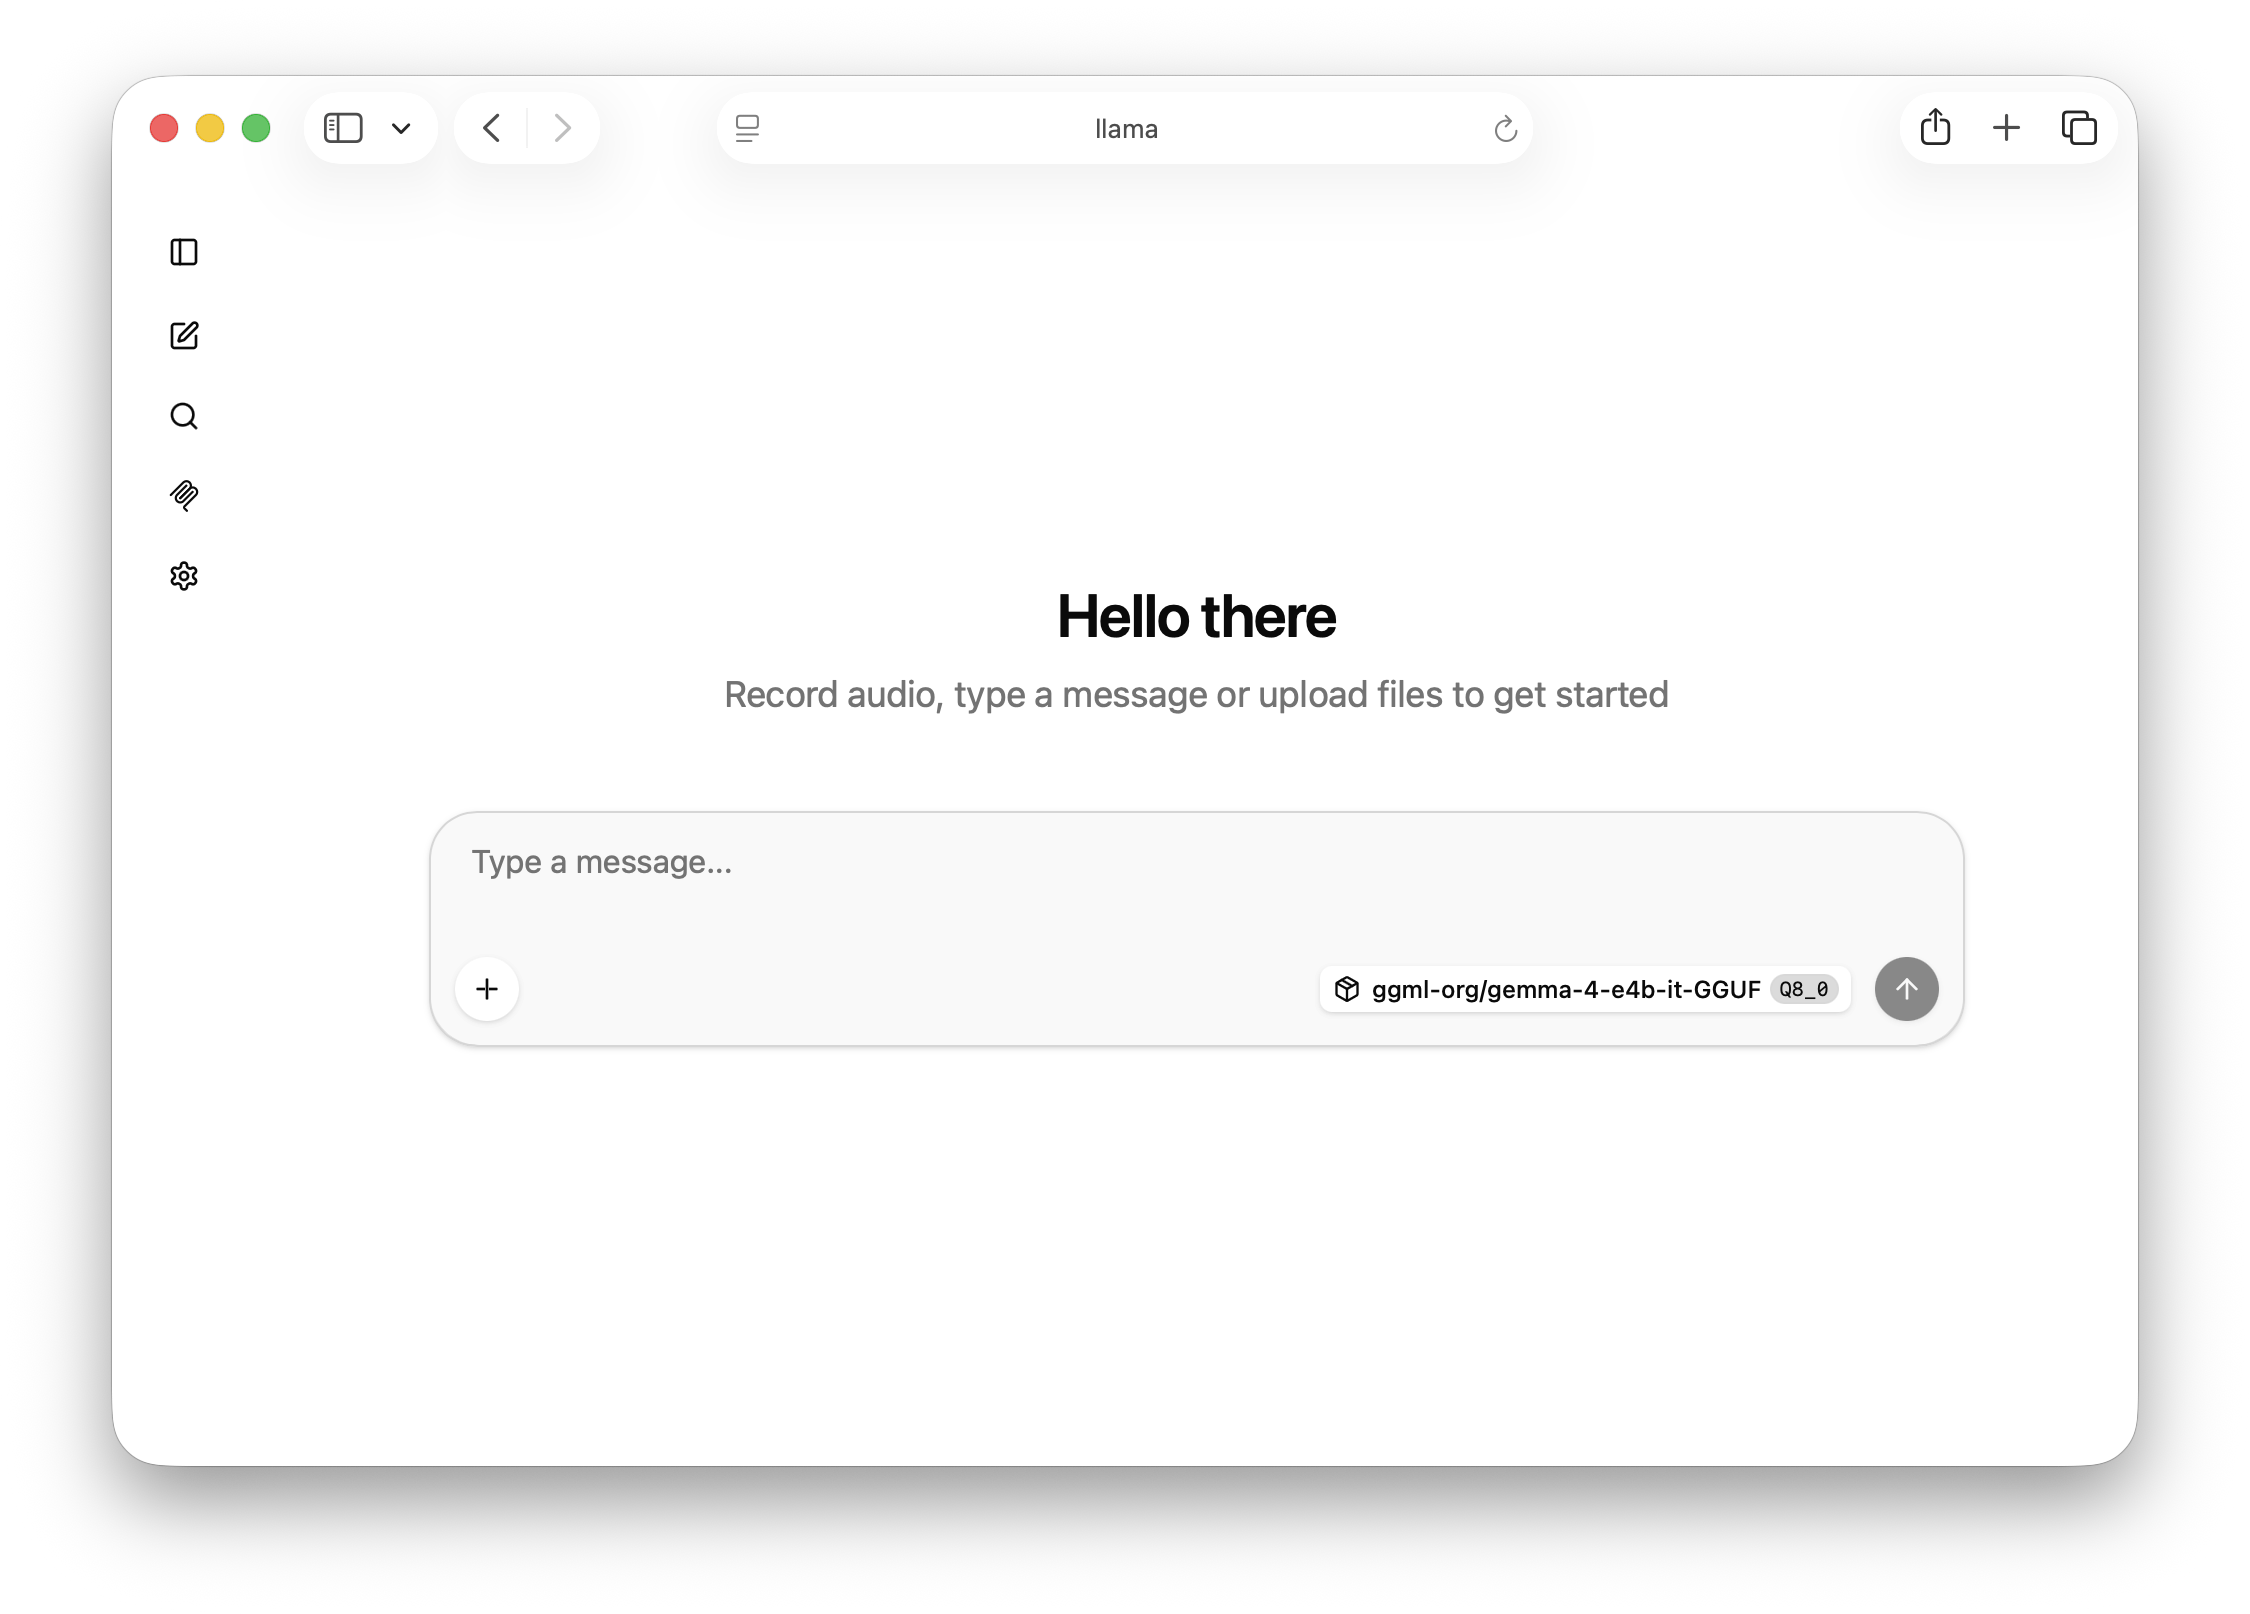
Testing Through the UI
llama.cpp ships with a lightweight web interface that feels similar to ChatGPT and is useful for quick testing.
Testing Through the API
I also tested the setup using the OpenAI-compatible API:
curl http://localhost:8080/v1/chat/completions \
  -H "Content-Type: application/json" \
  -d '{
    "messages": [
      {"role": "user", "content": "What is the capital of Canada?"}
    ],
    "temperature": 0.7,
    "stream": false
  }' | jq
The response included timing information that provides a rough idea of inference performance:
"predicted_per_second": 6.474237928243863
For an integrated GPU, I found the experience surprisingly usable. Responses appeared quickly enough for interactive conversations, making it a realistic option for experimentation and personal projects.
Integrating with the OpenAI Python SDK
My end goal is to integrate a local LLM into some of my existing applications, so I also tested the OpenAI Python SDK.
Since llama.cpp exposes an OpenAI-compatible API, integration requires only a few configuration changes:
from openai import OpenAI

# Connect to the local llama.cpp server
client = OpenAI(
    base_url="http://llama:8080/v1",
    api_key="not-needed"  # Required by the SDK, ignored by llama.cpp
)

response = client.chat.completions.create(
    model="local-model",
    messages=[
        {"role": "user", "content": "What is the capital of Canada?"}
    ],
    stream=True  # Enables real-time streaming
)

for chunk in response:
    if chunk.choices[0].delta.content:
        print(chunk.choices[0].delta.content, end="", flush=True)
Final Thoughts
I was pleasantly surprised by how straightforward the setup turned out to be. Between Proxmox GPU passthrough, llama.cpp’s Intel SYCL support, and the availability of pre-quantized GGUF models, getting Gemma 4 running locally required far less effort than I expected.
An Intel Iris Xe won’t compete with a dedicated NVIDIA GPU, but for experimentation, learning, and lightweight application integration, it’s quiet capable.